What you will need
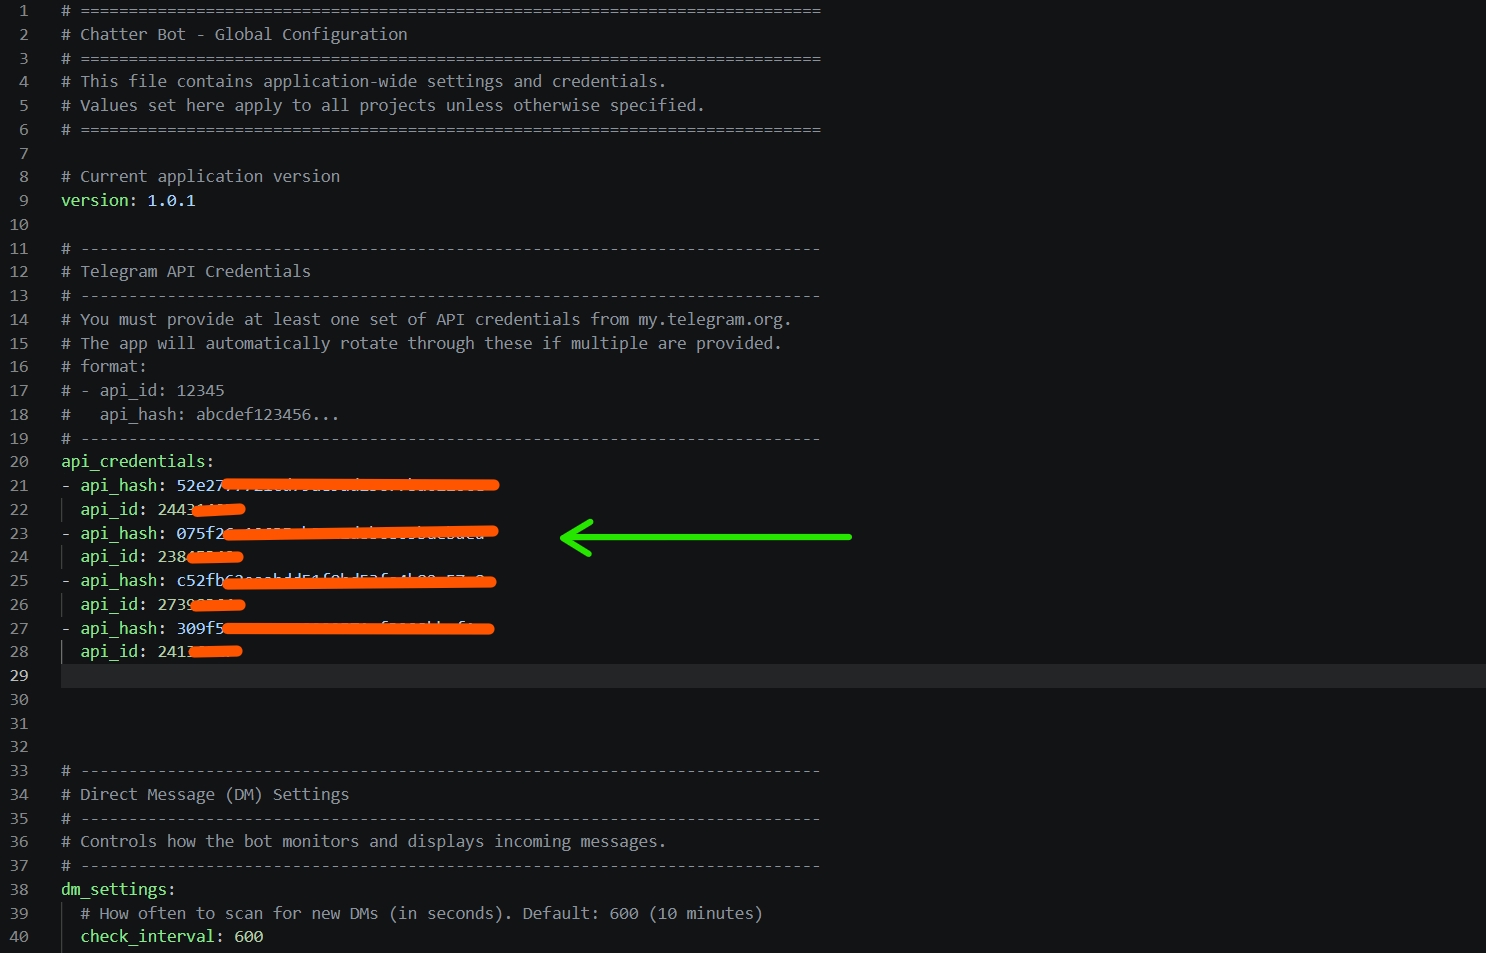
Essential checklist: API keys, Telegram credentials, and proxy setup requirements.
Check RequirementsPart 1: Script Generator
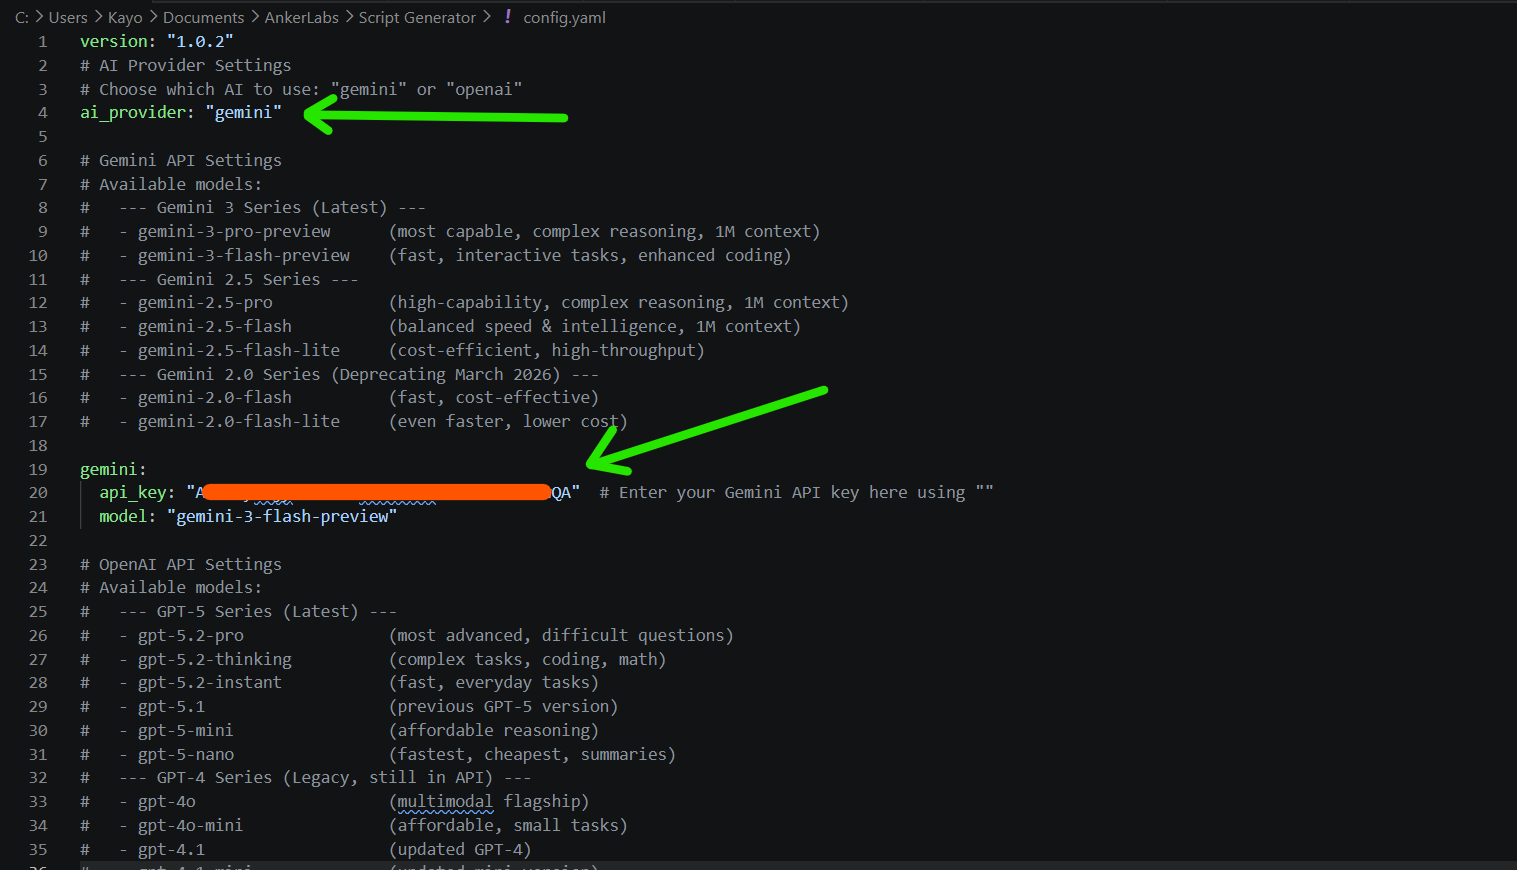
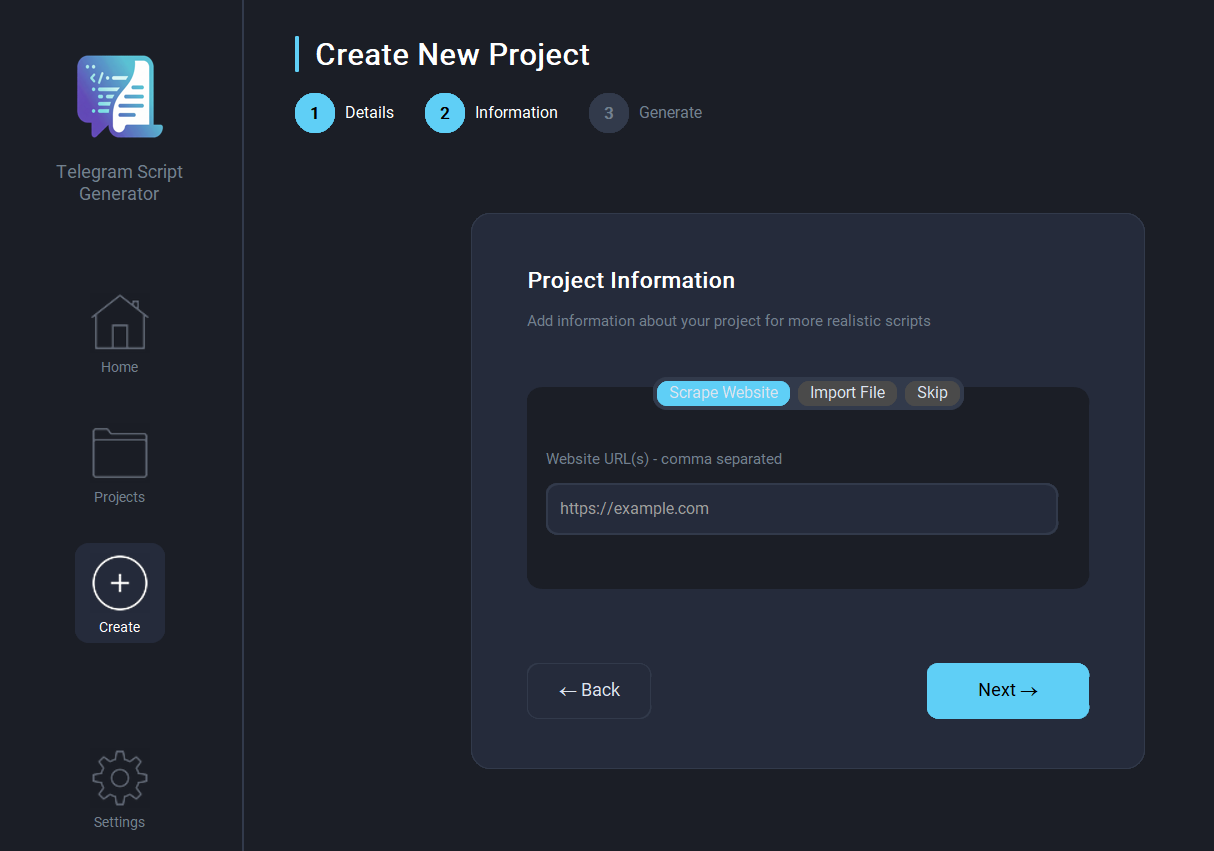
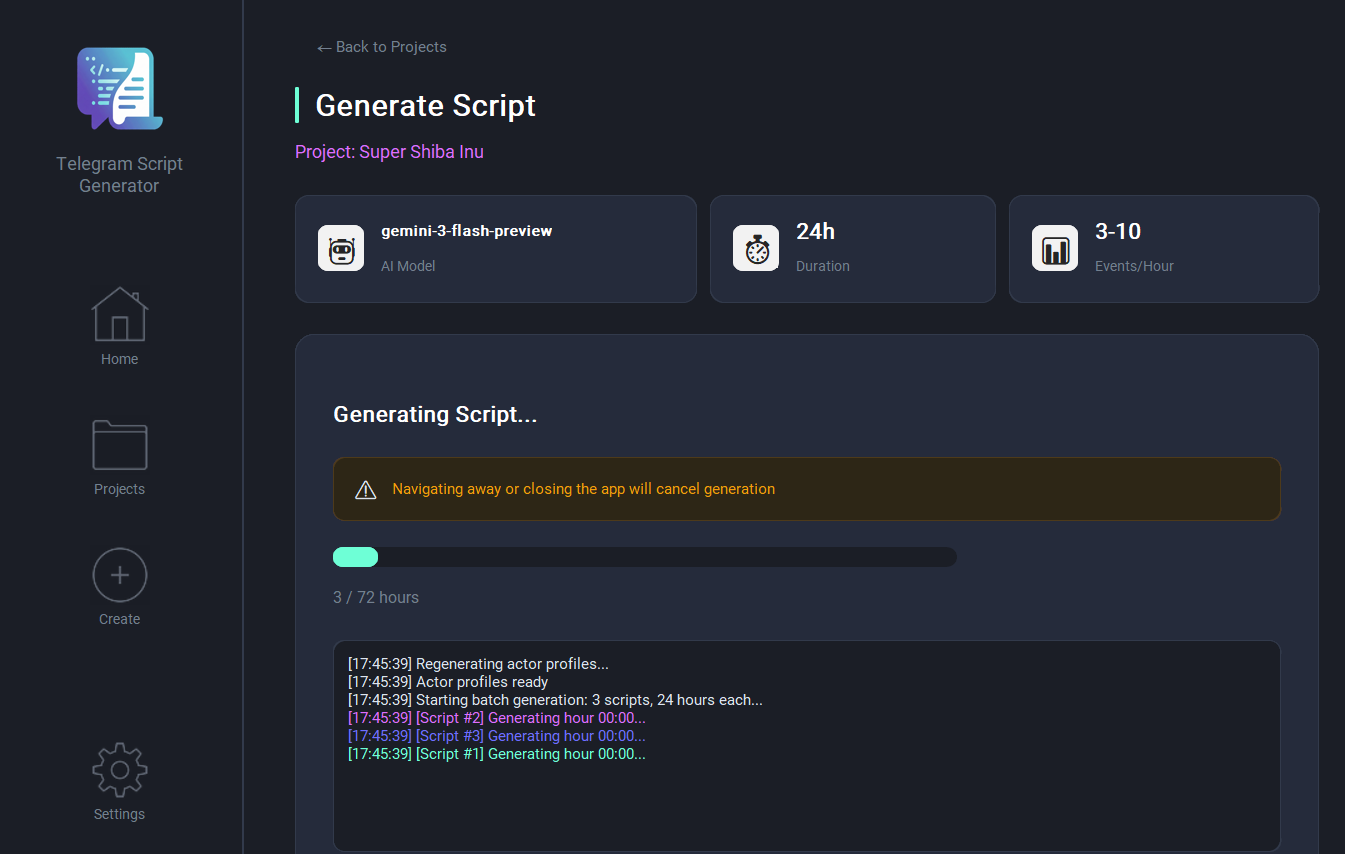
Learn how to feed the AI context about your project and automatically generate thousands of unique, realistic conversation lines.
Jump to SectionPart 2: Chatter Bot
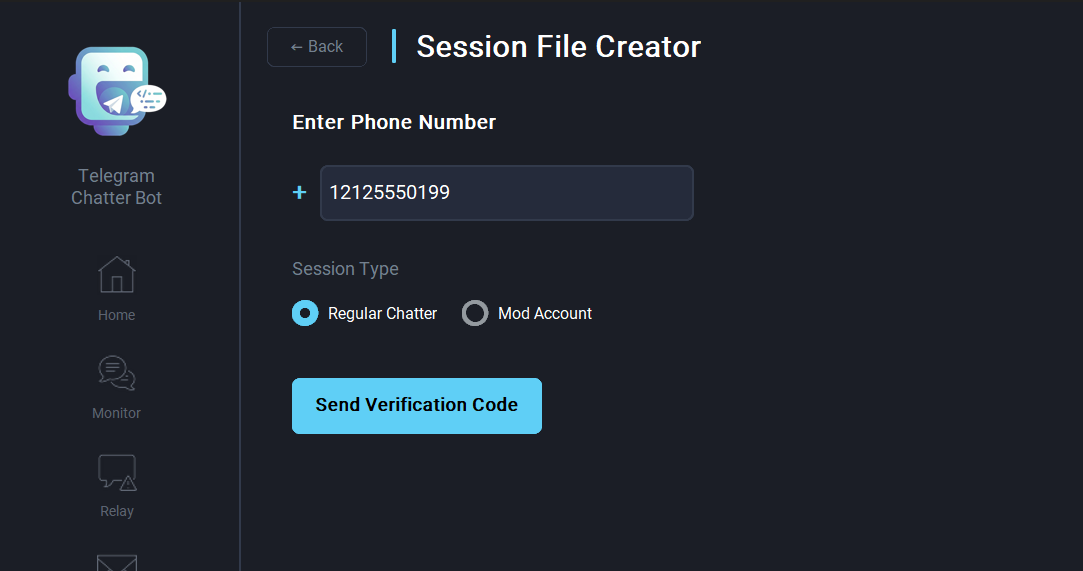
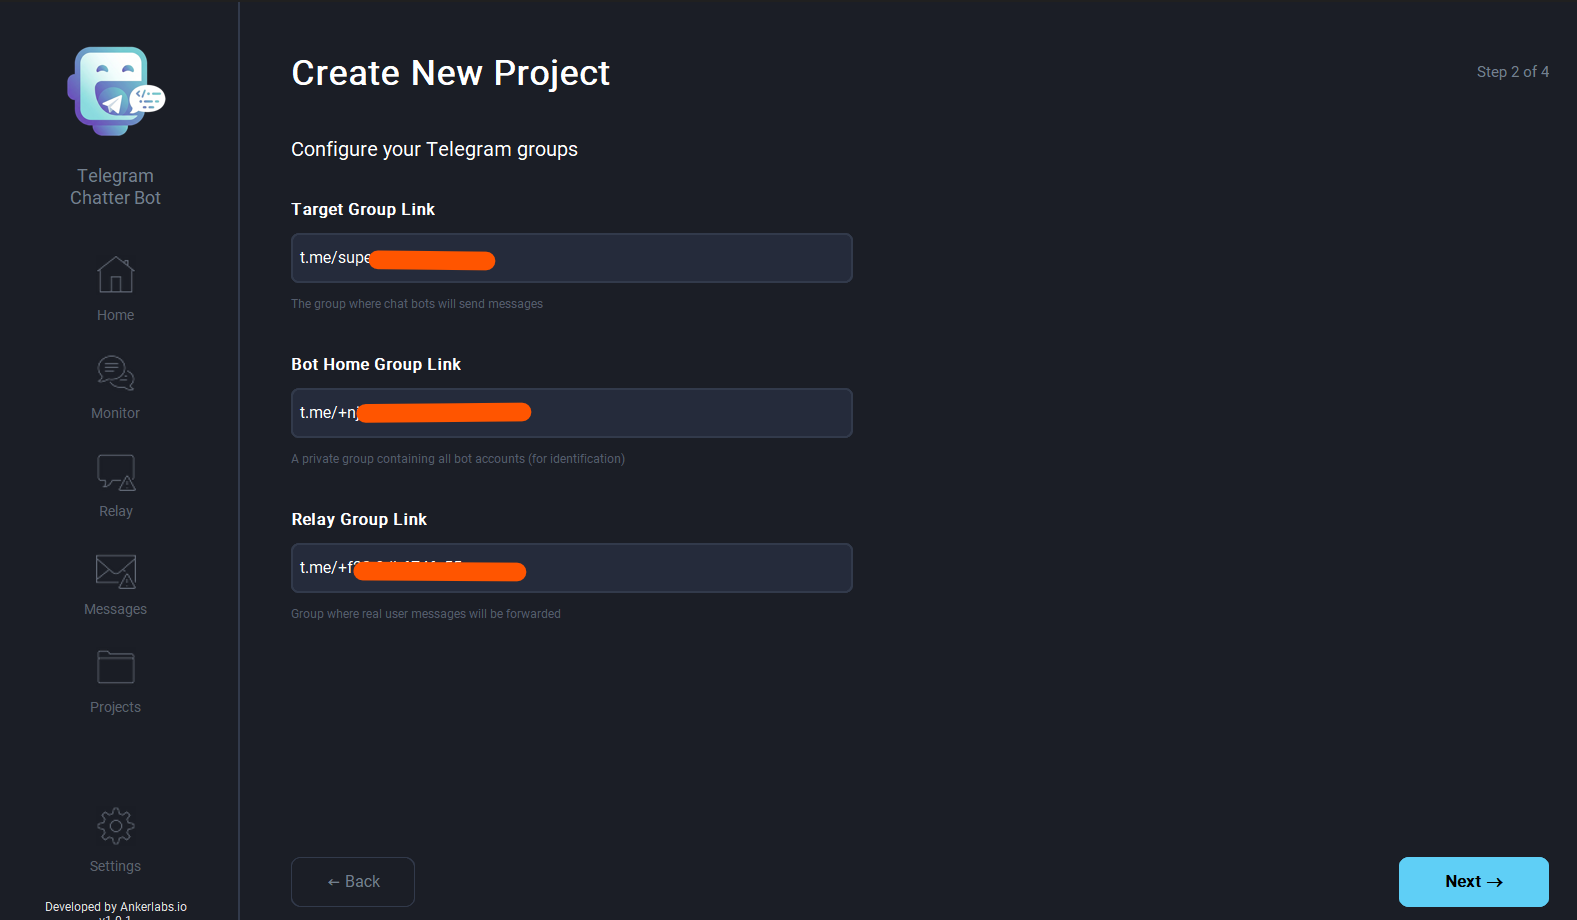
Deploy your generated scripts using session files and proxies with autonomous account rotation.
Jump to SectionPart 3: Advanced Settings
An exhaustive reference for every YAML setting, including AI parameters, security limits, and rotation cycles.
Jump to SectionPart 4: Custom Prompts
Edit general, niche, and moderator prompts to customize exactly how your bots converse.
Jump to SectionPart 5: Memes
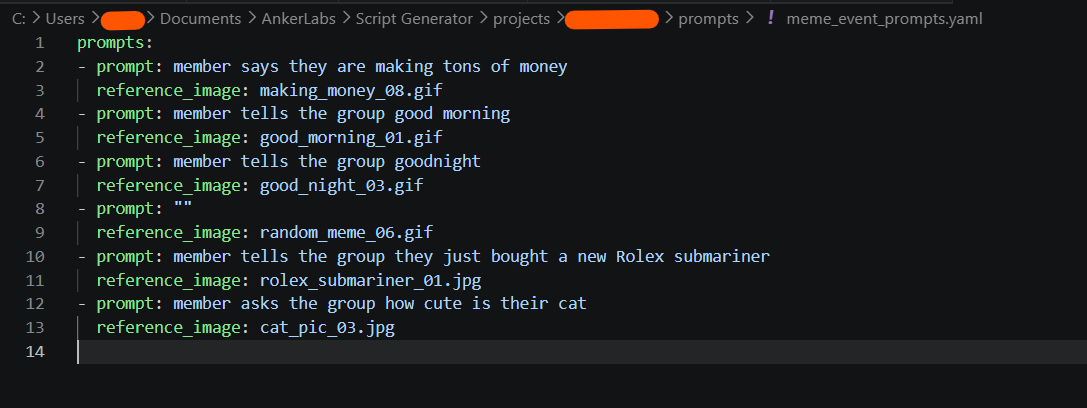
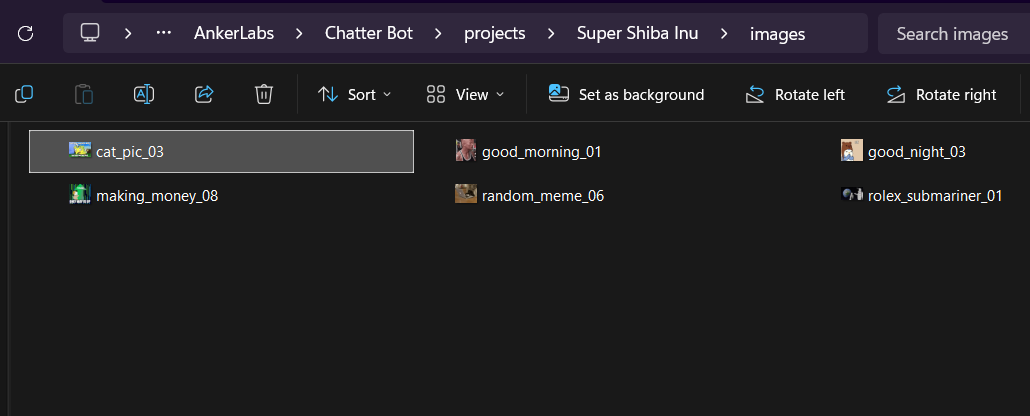
NewLearn how to create custom meme event prompts and store images for autonomous posting.
Jump to Section